In anticipation of getting this cabinet in August I've started to source out parts and do whatever prep I can. I've decided that like my Donkey Kong Jr project I will add "admin" buttons to the underside of the control panel.
To give this cabinet a wider range of playable games I am going to use "Player 1 start" and "Player 2 start" as buttons A & B. The "jump" button will actually be "Player 1 start."
The underside of the cabinet will have a buttons for Enter, Escape, Credit, and Player 2 start. The Enter and Escape buttons are used in MAME, as is the credit button.
The PC is going to feature MAME with a custom MaLa layout. I'm also going to include prior generation console games. In fact any console that requires less than two buttons will be added to the PC.
I'm really excited to have this machine playing NES and Sega games.
Thursday, July 21, 2011
Donkey Kong Jr. meet your father .................

Last summer (give or take) I completed a restoration/revamp of my first ever Nintendo cabinet. I've posted a few pictures on the blog about it, as well as the cost break down. After I completed that project I fell in love with Nintendo cabinets.
In all honesty I'd love more in my collection. And I can say that luckily I've added another machine to the fleet.
I pick it up at the end of next month from the local coin-op auction.
It's bought and paid for and I've already ordered parts.
I'm doing what I can now so that I can complete the project quickly.
Monday, May 30, 2011
Donkey Kong Jr MAME Cabinet


I didn't chronicle this build on my blog.
However for anyone interested I did outline the build over on KLOV.
Here is the link : http://forums.arcade-museum.com/showthread.php?t=146729
Picked this up in August of 2010. I really started falling in love with Nintendo cabinets as of late, the colors, the art, the size, the classics, everything about them. I was super stoked when I had the opportunity to get this gem. It's the pride and joy of my collection.
I spent $494 getting this project to where it is now, however I sold the original monitor for $150. Which really makes my total $344. It's running MAMEv 124 with a complete ROM set. However I used ROMlister to compile a specific list of games that utilize no more than one button. I used MaLa as the front end, and all the menu screens are custom.
I really love this project, I'd LOVE another Nintendo cabinet.
Here is the spending breakdown :
Donkey Kong Jr Cabinet $75
including Bezel, monitor, DK 3 CP &
upper marquee bracket
Donkey Kong Jr CPO + $35
lower marquee bracket (shipped)
Bondo $12
Delivery $0
Control Panel (0.5" MDF) cut $10
Bondo Kit/Sand Paper/Wire Brush $29
Paint Roller + Extra Rollers/Glue
Light (18" Home Depot) $13
Plastic Polish $15
Spray Paint x 4 $12
Art Work (local print shop) $5
Orange Paint $20
Wood base, rubber feet, $10
screws & bolts
Side Art (on order) $50
20" Samsung LCD Monitor + $122
New PC Speakers
P4 Computer $46
T-molding $15
Marquee $25
Total: $494
Sunday, April 10, 2011
UPDATED : Spending Totals
BAR TOP MACHINES = $100 FOR 3 ($33.00 each)
48-IN-1 BOARDS = $180 FOR 3 ($60.00) *SHIPPED*
JAMMA HARNESS = $35 FOR 3 ($11.50) *SHIPPED*
SPRAY PAINT = $62
SANWA JOYSTICKS = $45 FOR 3 ($15.00 each)
HORI BUTTONS = $15 FOR 15 ($1.00 each)
TOOLS & WIRING = $35
CONTROL PANELS = FU*T! (SEE THE BLOG FOR DETAILS...THANKS "FM")
SWITCHES & WIRING = $40
MULTI-METER = $23
JLF WIRING HARNESS x 5 = $20
MDF & MISC HARDWARE = $10
ART SAMPLES = $10
15" LCD MONITOR = $40
15" LCD MONITOR = $40
15" LCD MONITOR = $20
SIDE ART = $40
SOLDER WIRE = $7
CRIMP TOOL + WIRE = $25
POWER SUPPLY x 3 = $40
TOTAL SPENT : $787
each unit - $262
Bar Top Trio = DONE!
Had the final monitor sitting around for weeks now, just never made the time to do the install. However today I did manage to find the time to complete these. Final monitor went in today and the item was tested and is ready for sale. Very happy with these bartop`s, and I learned a ton doing them.
Excited now to add the finishing touches to my DK JR machine and continue working on my MaLa Shooter arcade. It will be a dual light gun (Aim Trak) cabinet with multiple emulators including MAME,NES,SNES,PS1, and various SEGA consoles.
Excited now to add the finishing touches to my DK JR machine and continue working on my MaLa Shooter arcade. It will be a dual light gun (Aim Trak) cabinet with multiple emulators including MAME,NES,SNES,PS1, and various SEGA consoles.
Wednesday, February 2, 2011
Bartop's In Action


So today I took a snow day and decided I would do the final touches on the Bartop "Keeper." A nice lil clean up and the application of the sideart were all that remained. Despite a wrinkle that I was unable to get out it went otherwise smooth.
I'm kinda bummed as this is the machine I'm keeping, but I think I am my own worst critic. I doubt most people would even notice. But it is what it is! And most important....it's done and working great. The LCD looks awesome and really the only adjustment I can think of is taking it off free play and utilizing my credit button and lowering the volume. I have tracked down another 15" LCD on Kijiji that I plan on getting this week. Once I pick it up I'll toss it in the yellow bartop and then get that up on Kijiji.
Took awhile as most my projects do (less the DK JR in my opinion) but I learned a ton doing this project. I feel I took my time but I took no shortcuts and really didn't cut any corners. I want the people who buy these to enjoy them and know they are well put together. My buddy that helped me wire them instilled that in me. Spend a few more dollars, take a few more minutes, but have the satisfaction of knowing they are done solid and safe. He didn't let me take any shortcuts, even adding the second fuse for the fan.
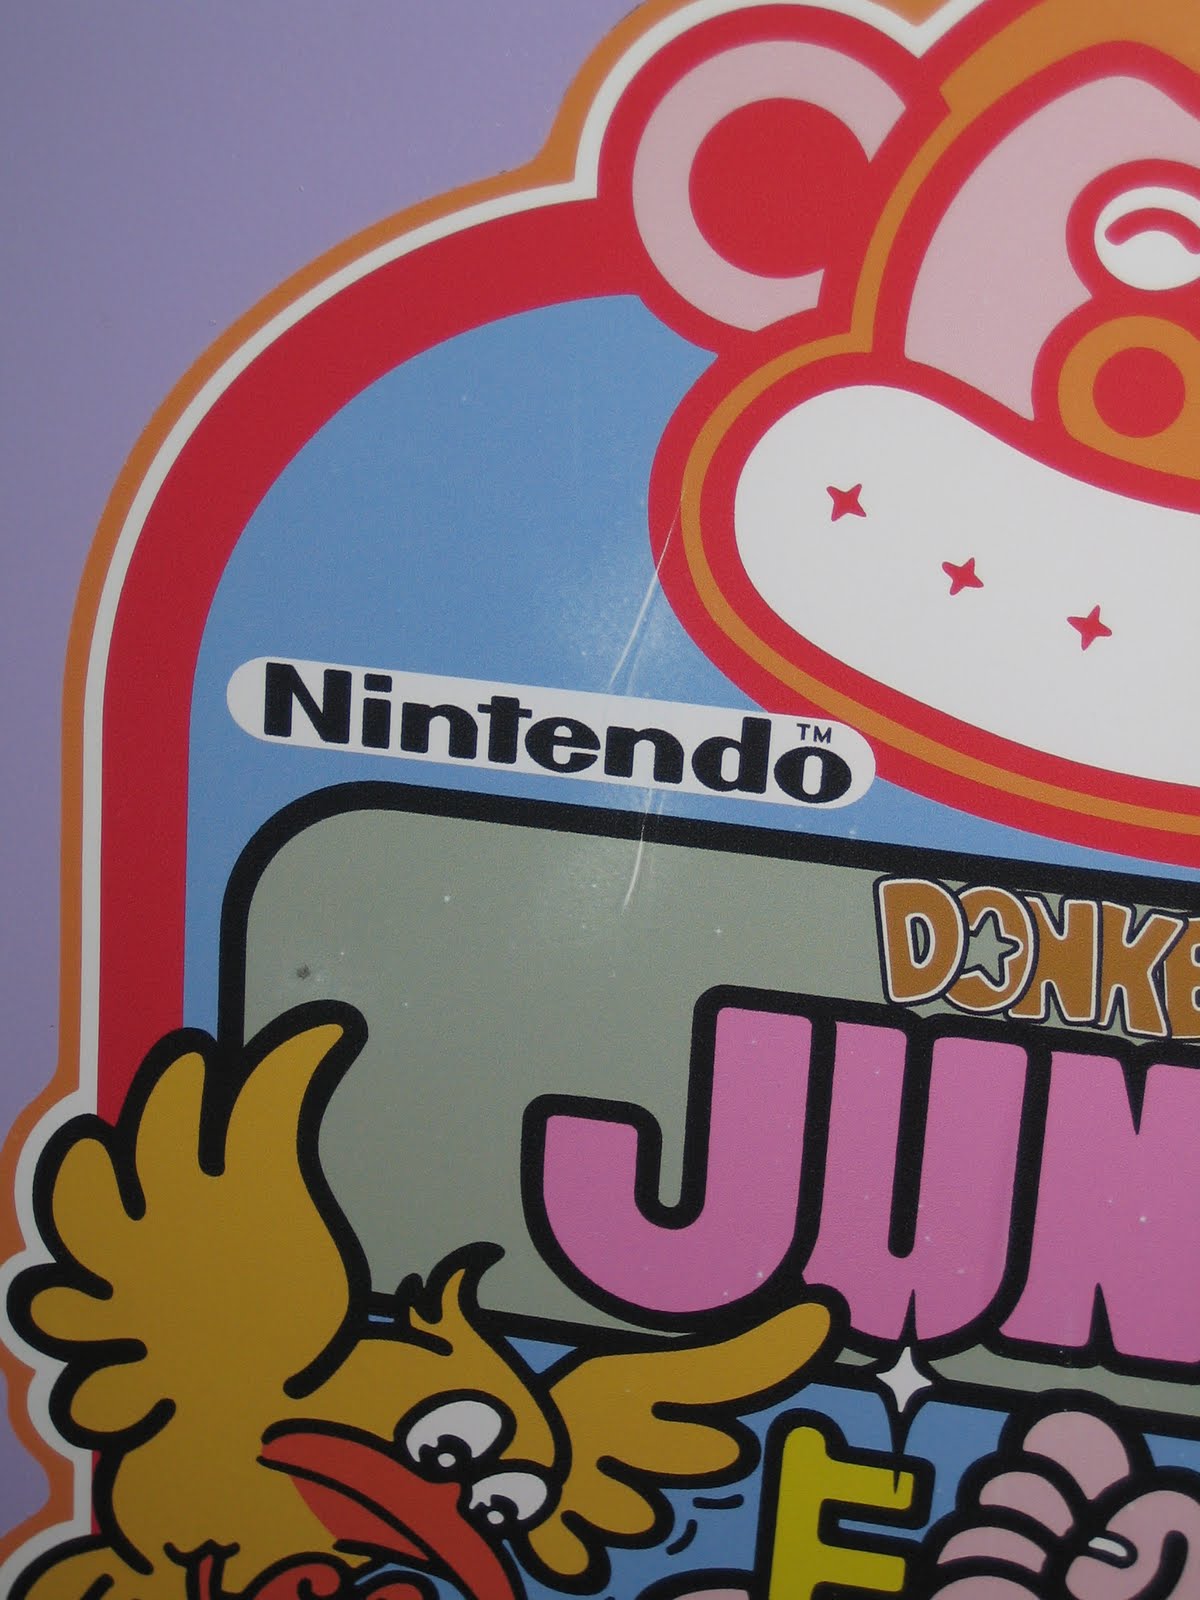
Here are some pics of the trip (almost) complete. Including some art closeups.
Subscribe to:
Posts (Atom)
