Wednesday, December 14, 2011

Coin Door Progress


Some pics of the newly painted coin door.

Final Touches


For the winter as I start my man cave my projects have been parked.
Pushed to the back of the garage like bad children to the back of the classroom.
I'm doing what I can which is honestly small cosmetic work, the wiring will be done this summer (perhaps sooner) as I prepare to move the cabinets in.

The last of my parts should arrive this week. I went out and purchased my molex connectors. For Popeye I plan on having two "EZ-CHANGE" control panels, a stock 1 player and a VS layout 2 player panel. I think this will help with selling the cabinet in the future, should I decide I want to do so. The molex connector makes swapping panels out a breeze. I've never done this before, but I've seen many MAME projects use this.

Unplug the connector and plug in the alternate panel. I'm soooo stoked on this, I think it's so awesome. As much as I love Nintendo cabinets having one button does limit the game play. The cost to make a second panel isn't really that much, so it really was an easy decision.

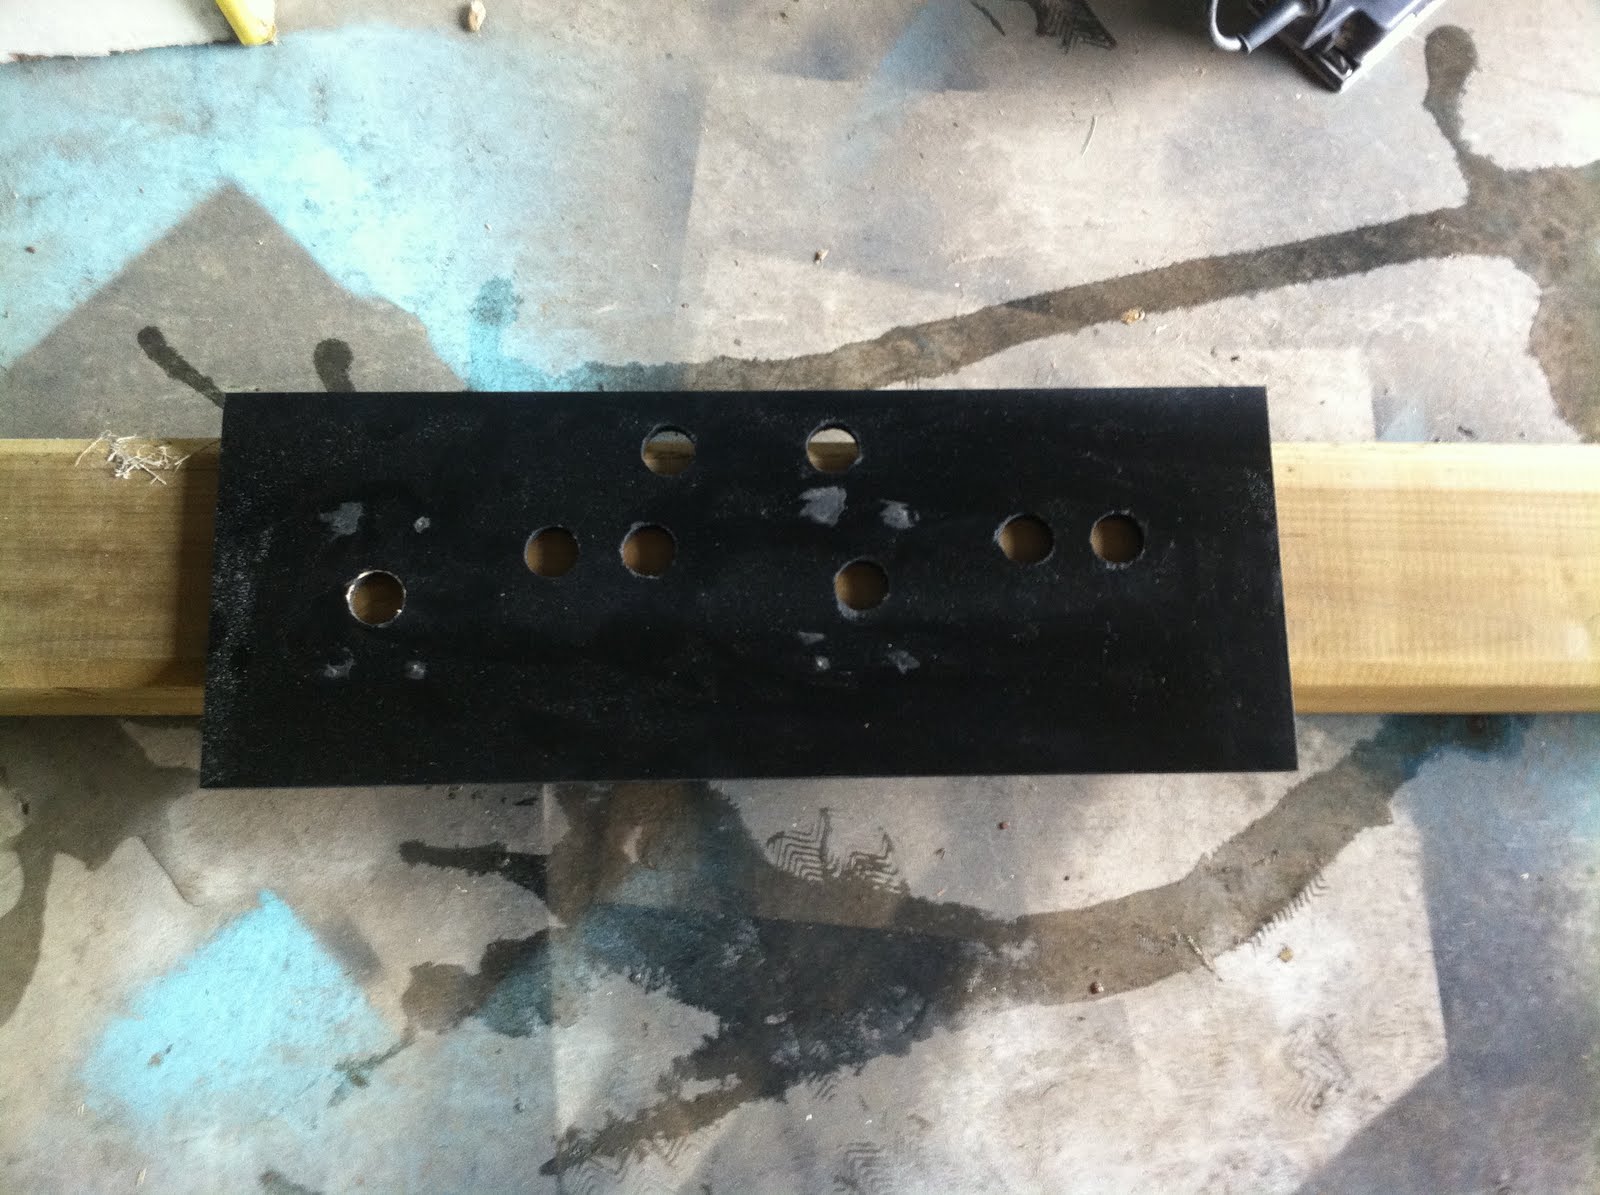
My upper and lower brackets arrived late last week. I've sanded them and given them three coats of paint. They came out good, I'm happy I was able to salvage them, they were priced great.

I also got my coin door sanded and painted, it has a few flaws but all in all I can't complain. The fresh coat of paint brought some new life to it. I'll clean up the mechs this weekend.

I expect the rest of my parts to arrive this week. One they come I'll inspect them, likely take the wire wheel to the bolts to polish them up, and I'll polish the buttons with Nuvos.

THAT'S IT ! That would be the last of the work. Well attach the Popeye CPO to the second panel, but that's it, DONE !

Tuesday, December 6, 2011

Get It On!


Locally a fellow coin-op enthusiast asked me for some help on locating the various online arcade art resources. He had asked me about certain sites, forums, and anything really that would help him to establish his file library. In exchange for my help he provided me with a few sets of side art he had printed prior that were slightly flawed.
It was a great alternative as the artwork I had ordered from the US seemed to have been lost in the mail. Desperate to get the art and with it being FREE I could nothttp://www.blogger.com/img/blank.gif say no. I thought when I installed it I would be able to work out the damaged areas, however I was wrong. I'm still torn on the install, as great as free is I love these machines. Should I have spent the http://www.blogger.com/img/blank.gifmoney and had flawless art ? When in a row the only art you will see is the left side of the DK cabinet. I by no means think these cabinets should be flawless, they are 30 years old. The parts you find will always have some wear and tear. I can't say I'll never remove this art and try again, but for now I'll go with it. In a dim basement you might not even notice the flaws.

I've posted the link to the full gallery, but included a few samples in the blog.

http://s286.photobucket.com/albums/ll85/vibefxdesign/DK%20and%20Popeye%20Art%20Installed

Coin Door


So this weekend I was able to pick up my DK coin door. It's one of the last things I need to complete my DK project. I also have my upper and lower brackets coming from the US, I should have them this week. I was also fortunate enough to have a fellow KLOV'r send me some Nintendo buttons, coin door bolts, and a few other random parts I was missing. It was a really sweet hook up, and I thank "micksimmonds" for his awesome contribution.

Once the parts come in I can get them all sanded and painted, then cosmetically I'll be done ! All that will remain is doing the Jamma wiring this spring. (It's too cold to do it now..........the twins are living outside !)

Tuesday, November 15, 2011

Project Update

Been very busy as of late and had some major life issues that kept me from projects.
However the Nintendo Twins (DK & Popeye) are coming along well.
I found a local source who was getting into the "Arcade Art Business" and gave me some DK & Popeye art that he had done for someone. It did come with a catch, the art had some wrinkles in it. I thought I would be able to smooth it out, but I couldn't. I can honestly say that with them installed I'm not so sure I made the best choice installing FREE DAMAGED art. I think I would have rather paid and had the art flawless. I guess the saving grace, or silver lining is that when in place only one side of DK will be visible. You wont even see the Popeye art. It's more that I know it's damaged and I see it when I look at it. I'm sure we all have something like that.
I'll snap some pics soon and post them on the blog.

Really all that remains now is to pick up my coin door which if all goes well I'm hoping to do the 1st week in December. I also need to pick up some additional hardware such as marquee bracket which I'm also hoping to do the same day. December 3rd is the local Coin-Op auction and if the seller of my Popeye cabinet is at the auction he will have a few parts for me. That day I'm also going Christmas shopping out in Vaughn, that just so happens to be the location of my coin door. So fingers crossed it all works out.

My buddy and fellow coin-op enthusiast offered to help me wire up my monitors and help with the jamma wiring. He's also busy with a bunch of projects so finding the time isn't easy. I myself had some major issues as of late and have been really taken back when it comes to the hobby. On a positive note I hope to be starting my basement man cave soon ! So all my cabinets will have a nice home to be displayed, played and enjoyed. Realistically if I don't do the jamma wiring until the spring I'm OK with that.

Friday, September 23, 2011

Painting All Done

Last weekend a push was made to complete all the body work and painting on both cabinets. They both came out really good and I had to test all my plastics and control panels. LOVING THESE ! This weekend I'll be wiring both cabinets for JAMMA. One horizontal, one vertical. These will be a sweet pair ! Full project gallery to date : http://s286.photobucket.com/albums/ll85/vibefxdesign/Popeye%20and%20Donkey%20Kong%20Restoration/
I'll have some more detailed entries later focusing on specific areas of the build.

Monday, September 12, 2011

My GRILLLLLL!!!!!!!!!!!!!!!!!!!!!


Don't like the holes that were drilled for a speaker grill.
Have no way of recreating the Nintendo original look.
Don't feel like having one shipped and adding that expense to the project.
So in the end I decided on this look.

I'll need to sand it tomorrow, add a skim coat, I should be able to paint it in 48 hours. It should be an easy fix that will not show any sings of repair when done.

Coming Together


Had a get an idea for how it was going to look.

A Few More Pics

Just a few shots of the cabinets all patched up, then painted.


Popeye Progress


Got some time over the weekend to paint my Popeye cabinet.
It's coming along well.
I'm still waiting on my t-molding and side art which I do expect this week.
I decided to today that I'd rather add a speaker grill as opposed to the "custom" look of drilled holes to let the sound escape. I think it's a step in the right direction.
Cabinet is looking good, I'm excited to wrap this up shortly.

Tuesday, August 30, 2011

A Few More Panel Pics


Working with the vinyl was really easy.
I mad sure to soften the edges of my panel so that when I pulled the vinyl tight I would not damage it. I used a squeegee to bond the vinyl tight to the wood. On the underside I am thinking of running a bead of hot glue to make sure the vinyl remains in place. I paid $7 for linear foot of the vinyl which made my buddies laugh because the MDF I "wasted" was only $2. But for what it's worth the panel looks amazing and I know now I'd work with this vinyl all the time. Sometimes I don't like the easy simple "paint it black" fix, but black is so universal and works for so many things. Not sure if locally I could have found this product in different colors, but for my Popeye cabinet the black works. I used the buttons and balltop's to pop the panel with color.

Take Control !


I had some MDF cut down to size so I could have some extra Nintendo panels around.
Was a good thing I did that as I ended up messing one of my panels up.
Not wanting it to go to waste and wanting to work with new materials I decided I would try and cover it in vinyl. I had decided I would mount the joysticks from above, which in reality was a bad idea. While drilling the holes out on the already painted and clear coated panel I had done more damage than anticipated.

I used some wood filler to patch the holes, sanded it smooth, rounded the edges, and then applied the vinyl. I'm really happy with the results.

Tuesday, August 23, 2011

Soon to be Donkey Kong


Well here he is, the king, Mr. Kong.
This is obviously the before.
I look forward to completing this project.
I'll be sure to post pictures as progress is made.